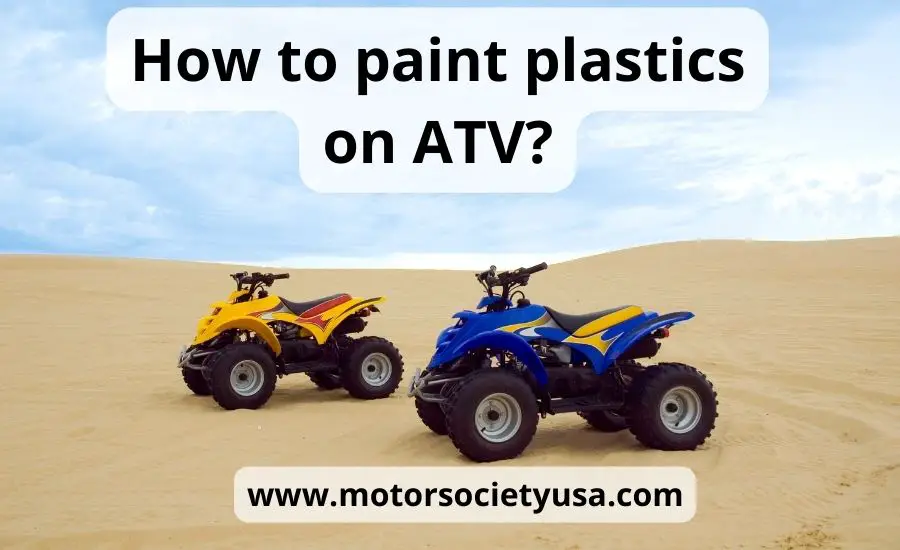
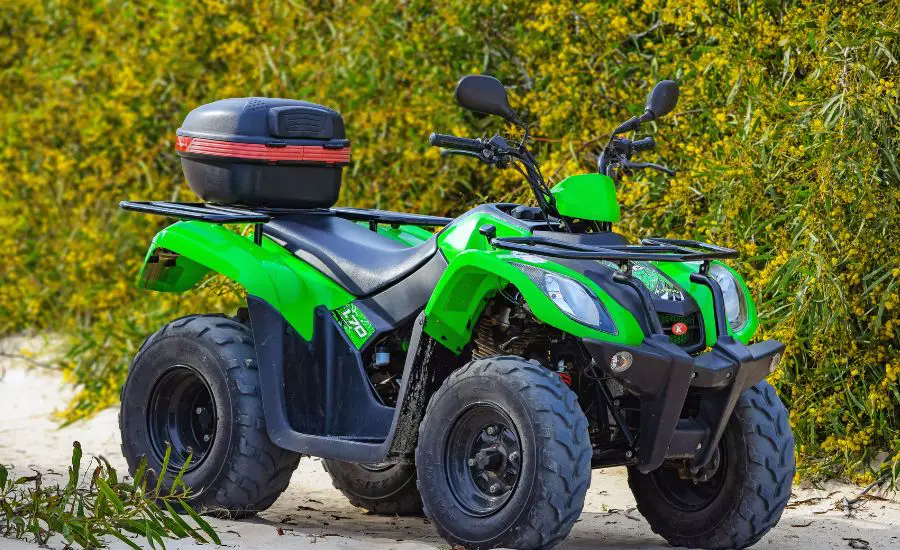
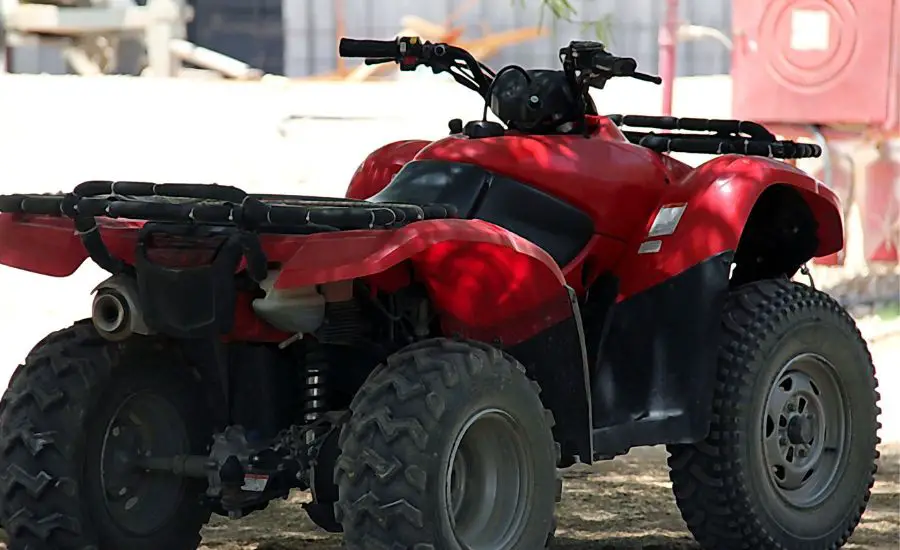
How to Paint Plastics on ATV? When it comes to enhancing the appearance of your ATV and protecting its plastic surfaces, a well-executed paint job can make a significant difference.
Paint ATV plastics and dirt bike plastic, requires careful preparation, the right tools, and a systematic approach to achieve a professional finish.
This guide will take you through the entire process, offering insights and tips on achieving professional-grade paintwork that can rejuvenate your ATV’s appearance. Let’s delve into the world of painting ATV plastics.
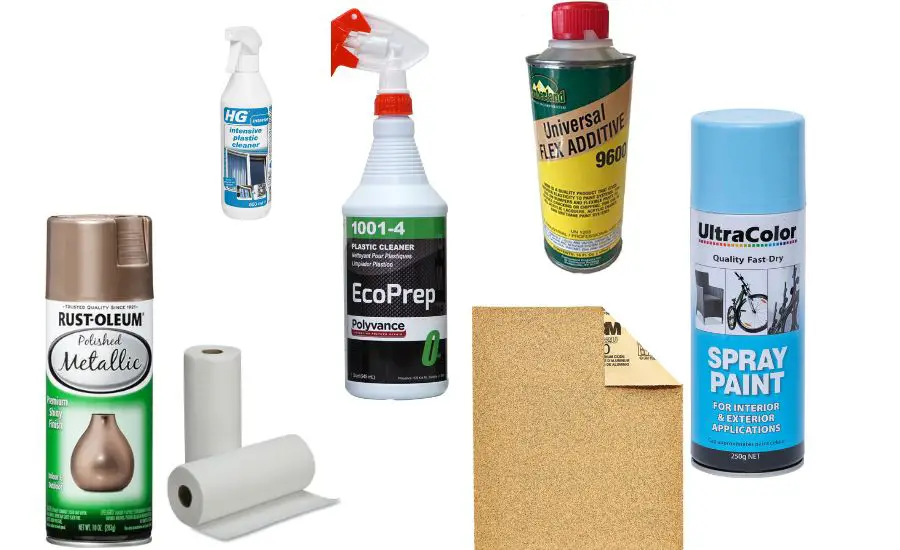
Step 1. Gather all the tools and materials
Before you begin the painting process, ensure you have all the necessary tools and materials:
- paint plastic cleaner;
- spray paint;
- sandpaper (180-grit and higher);
- scuff pad;
- paint stick;
- Polyvance cleaner for ATV plastic;
- bumper sealer;
- plastic spray paint;
- rust oleum specialty paint;
- flex additive;
- clean paper towel.
Having all the tools ready help you maintain a smooth workflow throughout the process.
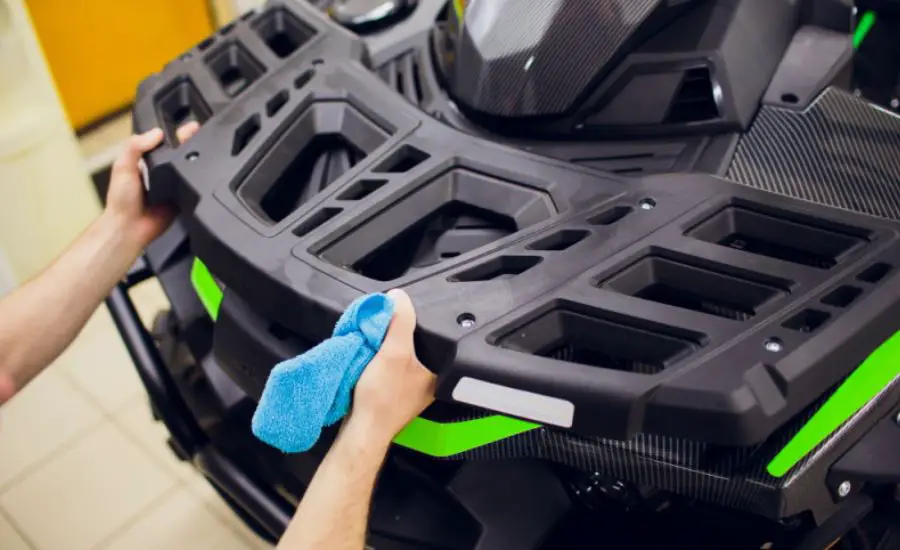
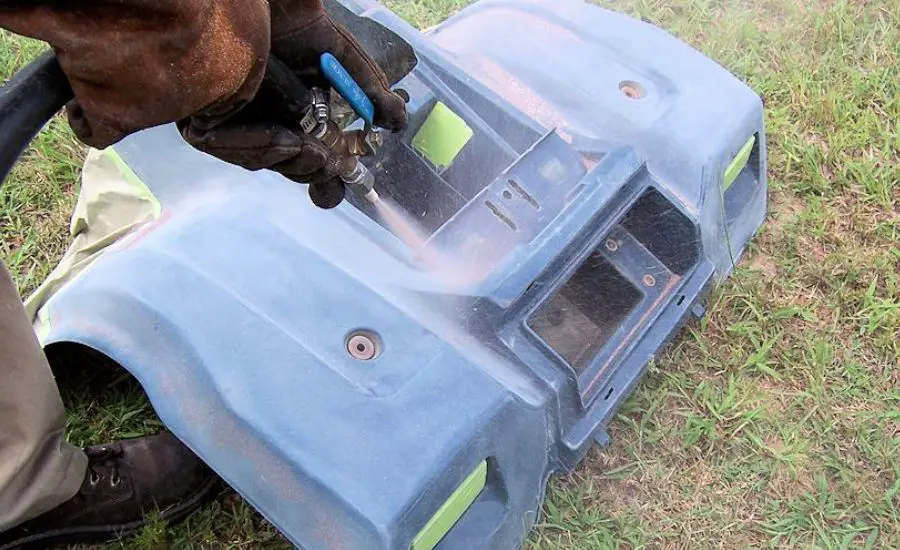
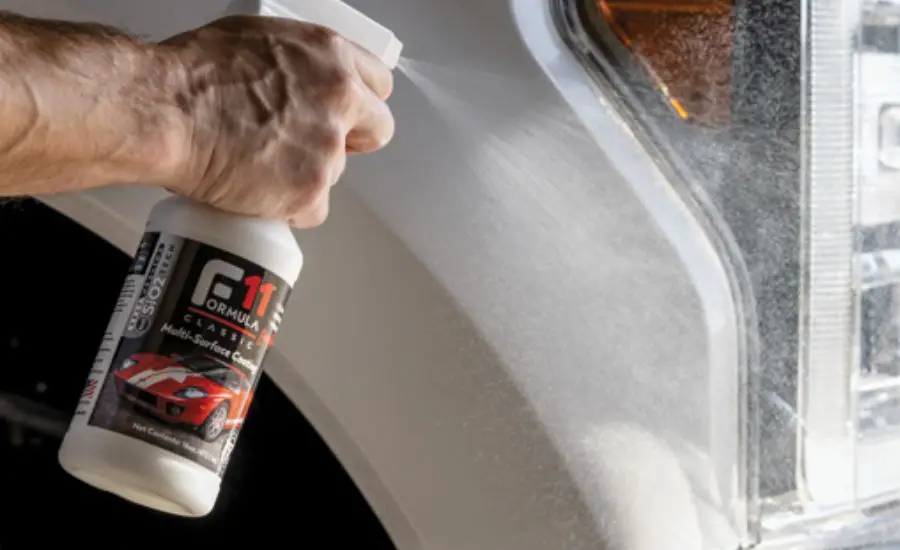
Step 2. Clean the surfaces
The key to a successful painting of ATV plastic lies in proper surface preparation. Start by thoroughly cleaning the ATV plastics using a cleaner for ATV plastic or Polyvance plastic cleaner.
This will remove any dirt, grease, or contaminants that could affect the adhesion of the paint.
Wipe down the surfaces with a clean paper towel until they are free from all the dirt and grime.
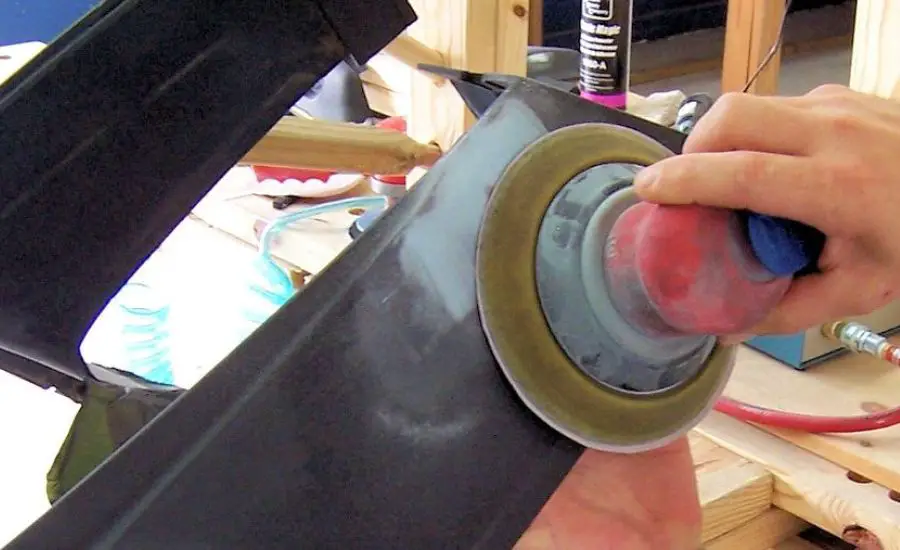
Step 3. Sanding the surfaces of ATV plastic
To ensure the paint adheres well, use 180-grit sandpaper to lightly sand the entire surface of the ATV plastics. The reason is that the paint adheres better on rougher matte surface plastics.
This step helps create a slightly rougher matte surface on the existing plastics, promoting better paint adhesion. Be diligent but gentle during the sanding process, ensuring not to overdo it and damage the plastic.
Step 4. Apply plastic primer
After sanding, apply a plastic primer using spray paint. This primer provides a paint coat that helps the paint adhere to the surfaces of new plastic body parts more effectively.
Apply a thin layer of primer, allowing it to dry completely before moving on to the next step. Proper drying time is crucial to prevent paint from peeling or bubbling later on.
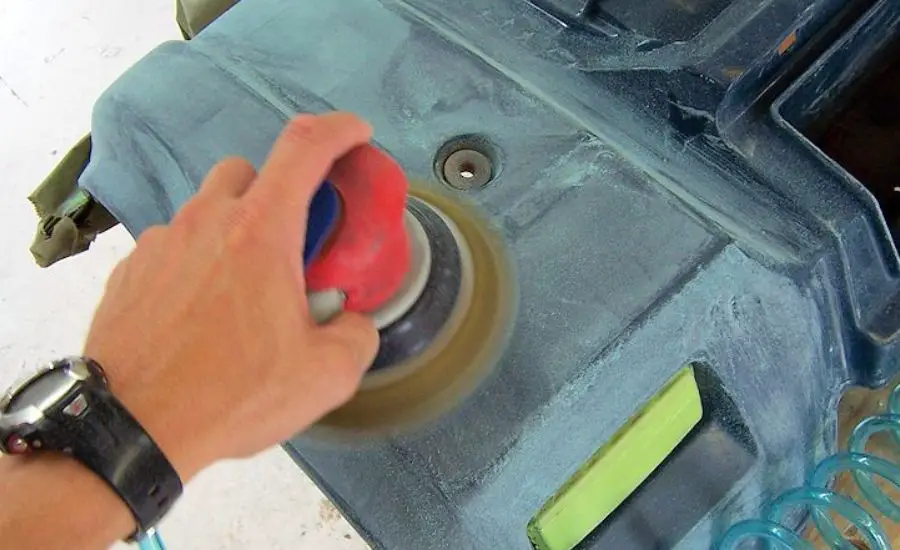
Step 5. Sand the entire surface again
Using higher-grit sandpaper (320-grit or higher), sand the entire surface again. This step smooths out any imperfections and creates an even canvas for the paint.
Make sure to clean away any dust or debris from the sanding process before proceeding.
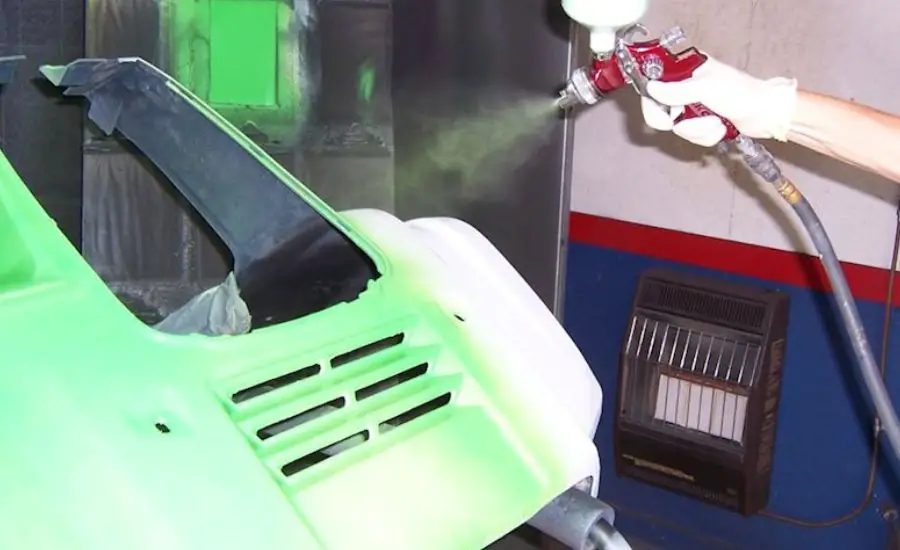
Step 6. Apply the first coat
Now it’s time to apply the base first coat of paint. Choose a high-quality plastic spray paint or rust oleum specialty paint in your desired color.
Hold the spray can at an appropriate distance and apply light, even coats. It’s better to apply multiple thin coats rather than a heavy wet coat, as this prevents drips and ensures a smoother finish.
Do not double-coat unless each coating layer dries.
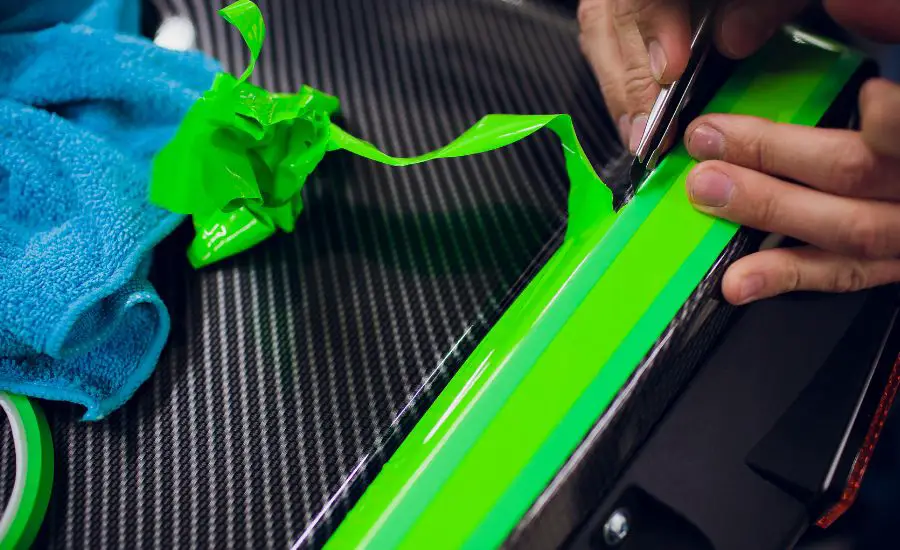
Step 7. Add color and detail
If you’re planning to add details or multiple colors to your ATV plastics, this is the stage to do so.
Using paint sticks or fine brushes, carefully add the desired colors and designs.
Take your time to achieve precise and clean lines.
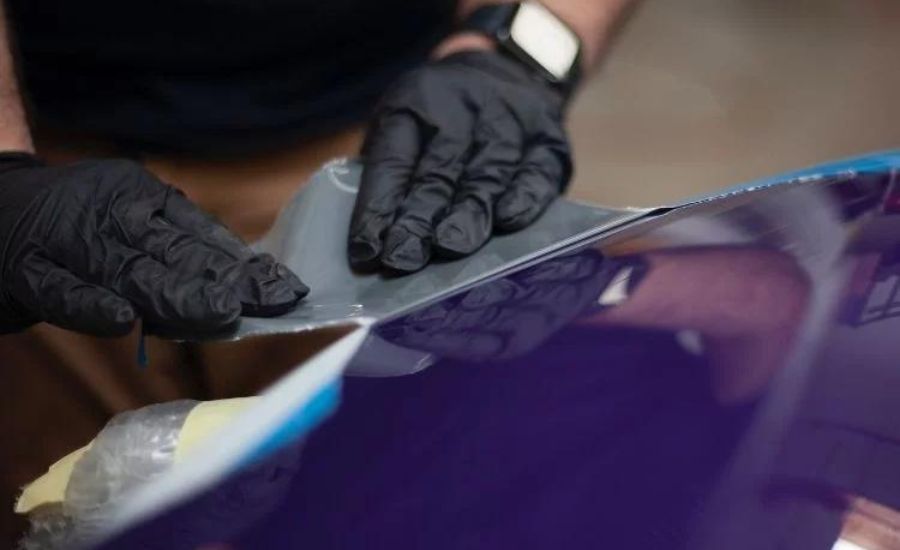
Step 8. Protect paint job
To protect your hard work and ensure the longevity of the paint, apply a clear sealer or bumper sealer and wait until the sealer dry completely. This acts as a protective layer, safeguarding the paint from external elements and UV radiation.
Allow the sealer to dry completely before exposing the ATV to the elements.
Step 9: Finishing touches
Inspect the atv plastic surface for any imperfections or areas that need touch-ups.
Make sure the paint has dried completely before handling the ATV.
Once you’re satisfied with the results, your newly painted ATV plastics are ready to impress!
FAQ
Here are presented some of the frequently asked questions related to the topic of how to paint ATV plastic.
How to paint ATV plastics at home?
When you paint ATV plastics or dirt bike plastics at home, it is a gratifying DIY venture, necessitating meticulous preparation and a keen eye for detail. The ensuing stepwise guide elucidates how to paint ATV plastics at home.
Step 1. Collect Essential Supplies
• new ATV plastics cleaner;
• sand plastic paper (180-grit and higher);
• clean paper towels;
• scuff pad;
• plastic primer;
• rust oleum specialty paint;
• clear coat sealer;
• masking tape;
• paint stick or brush.
Step 2. Cleanse the plastics
The cleaning process of ATV plastics must be thorough and use a cleaner for ATV plastic to get rid of dirt, and grease, and remove contaminants. Use clean paper towels to ensure they are devoid of debris.
Step 3. Abrade the plastics
Gently abrade the surface of plastic with 180-grit sandpaper, because the paint adheres better on rougher matte surface plastics. This instigates a rougher surface, bolstering superior paint adherence. Vigilance is imperative to avert over-sanding and plastic damage.
Step 4. Apply plastic primer
Apply a thin, even layer of plastic primer onto the abraded surfaces. Adhere to the manufacturer’s instructions for drying time. The primer augments paint adherence and heighten the final result.
Step 5. Optional sand plastic spray
If imperfections manifest post-primer drying, judiciously sand the surface again with sandpaper higher than 180-grit sandpaper (320-grit or higher). This action fosters a smooth canvas for the paint.
Step 6. Mask and ready
Use masking tape to shield areas undeserving of paint, such as decals or other ATV components. Validate that the surface is immaculate, free from any dust or fragments.
Step 7. Apply paint spray to paint ATV plastics
Hold the paint spray can at the prescribed distance and apply light, even coats of paint. Commence with a fine coat to preclude unsightly drips or uneven application. Ensure each coat is dry before applying the subsequent one. Apply multiple coats until the chosen color and coverage are attained.
Step 8. Incorporate intricacies (optional)
If intricate details or diverse hues be desired, use a stick for painting ATV plastic or just brush to meticulously apply the paint. Dedicate ample time to secure unblemished lines and meticulous detailing.
Step 9. Apply clear coat sealer
Post-paint complete drying, apply a clear coat sealer to safeguard the paint, and add a lustrous sheen. Heed the manufacturer’s guidelines for application and drying time.
Step 10. Culminating touches
Thoroughly scrutinize the painted areas for inconsistencies, unevenness, or areas requiring touch-ups. Confirm paint curing before operating the ATV.
Step 11. Reassembling endeavors
Once the paint is fully dry, cautiously detach the masking tape and reassemble the ATV plastics onto the vehicle.
What is the best paint for plastic?
The best paint for plastic surfaces is one specifically formulated to adhere well to plastics and provide a durable and long-lasting finish. When selecting paint plastic, consider the following options:
1. Plastic Spray Paint. Many brands offer spray paints designed specifically for surfaces. These paints often contain adhesion promoters that enhance the paint’s ability to bond with plastic, resulting in a smooth and even finish. Plastic-Specific Spray Paint ATV plastic and Krylon Fusion for Plastic are popular choices.
2. Acrylic Paint. Acrylic paint can also work well on surfaces, especially if you apply a plastic primer before painting. Acrylic paint is available in a wide range of colors and finishes, and it’s relatively easy to work with.
3. Enamel Paint. Enamel paints, particularly those labeled as “enamel for plastics,” can provide good coverage and durability on plastic surfaces. These paints often offer a glossy finish and can be applied with a brush or spray.
When choosing a paint, consider the surface you’re painting, the intended use of the object, and the level of durability you need. Always follow the manufacturer’s instructions for proper application, including surface preparation, priming (if required), and drying times.
Conclusion
Successfully painting ATV plastics requires attention to detail, proper surface preparation, and the right choice of materials. By following these steps you can achieve a stunning paintwork that transforms your ATV’s appearance.
Remember, practice makes perfect, so don’t hesitate to experiment and refine your techniques to achieve the best results.