Carburetors are the heart of many internal combustion engines. They control the fuel-air mixture in order to optimize engine performance and efficiency. If your ATV is running rough, has a loss of power, or stalls out after acceleration, you may need to adjust the carburetor. Thankfully, this process is not as complicated as it sounds. You don’t need to be a mechanic to learn how to adjust the carburetor on an ATV. With this step-by-step guide, you’ll be able to get it done in no time!
How to Adjust the Carburetor on an ATV: What You’ll need
There are a few tools you’ll need in order to adjust the carburetor. These include: – Screwdrivers – A set of both flat-head and Phillips screwdrivers. – Spark plug wrench – A spark plug wrench is used to remove the spark plugs on most ATVs. – Carburetor cleaning tools – brushes, needles, and wires that will help remove any dirt and debris from the carburetor. – A crescent wrench or set of wrenches.
Additionally, you may need some fuel system cleaning products if your ATV is running poorly. Try a cleaner like Sea Foam or Marvel Mystery Oil. These products will help eliminate any gum or varnish build-up in the carburetor. Also, a pressurized can of carburetor cleaner is all but crucial.
Before You Work On Your ATV
Park your ATV on a level surface, preferably in a dry place under a roof in case it rains. Keep the ATV turned off and let it cool down if hot. It’s better to be cool, so you don’t burn yourself. You may want to drain the gas out just in case your petcock is broken or other.
As soon as you remove the fuel line from the carb, gas will come out, so have a cup ready to catch the spilling fuel. Look for the owner’s manual or find a diagram of the carb online, so you’ll know where certain parts, like the needle and jets, are. You can also search online for a video tutorial. Try to find one on your specific model.
Removing The Carburetor
The procedure for an ATV may vary. You will require a hose connection to remove from the Airbox on most models. Remove the carburetor from the carburetor end of the hose by removing the hose camp. The two bolts on the opposite outlet of the carburetor are usually tightened into the motor mount. Remove the two nuts from the motor mount and slide the carburetor away from the motor to detach it.
Cleaning your Carburetor
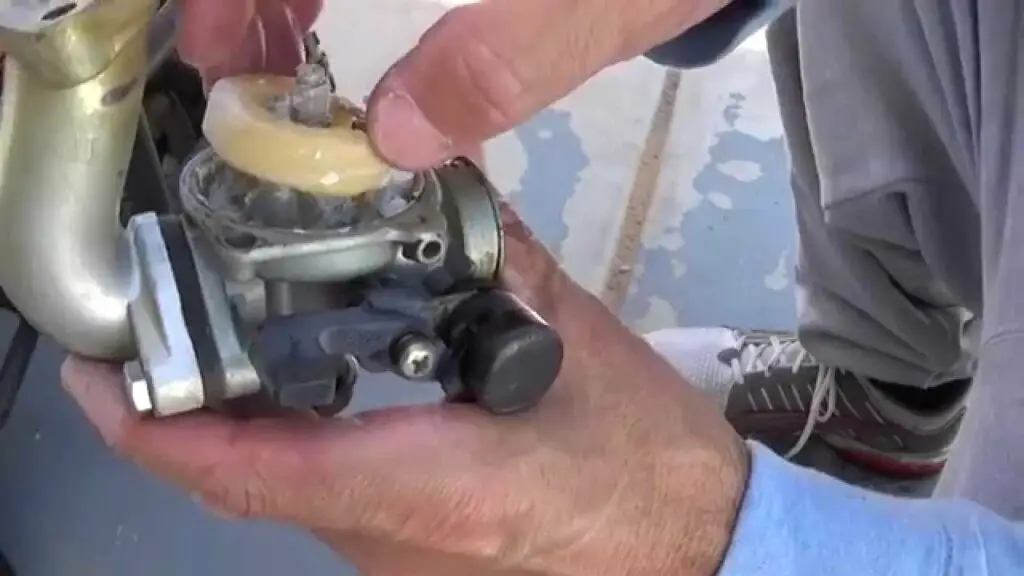
When you first start adjusting the carburetor, you should clean it as well. For most carbs, you can buy a carb rebuild kit which includes all the gaskets and o-rings. Start by removing the carburetor’s bowl and jets. In most carburetors, the bowl and jets are held in place by a single screw, but they can have up to four in some cases.
The screw is usually located underneath the bowl. Again, have your cup ready to catch excess fuel. If your carb has been sitting for a while or has been submerged, go ahead and soak the parts in a solvent like a carb cleaner or diesel fuel works great. You can soak the parts overnight. The next step is to use the cleaning tool to remove any dirt or debris.
Be sure to go over every surface, including the inside of the bowl and the jets. After removing any dirt or debris, take your carb cleaner and spray it through small holes like the jets and needles. If you have an air compressor, blow it out with an air nozzle. Once the carburetor is clean, put it all back together using your new gaskets. Put each screw back in the same hole it came out of.
Synchronizing The Carburetor
If your ATV has more than one carburetor, they are going to need to be synchronized. The carburetor synchronization is critical for the best engine performance. The main function of synchronization is to adjust the carburetor’s throttle cables and idle screws to the same position. This will make the airflow equally in and out of the carburetor.
The air must flow at the same rate so the engine can run smoothly. There are a few ways to check and adjust the synchronization. First, use a wrench to turn the throttle cable screw on top of the carburetor. Turn the screw in and out until the screw and throttle valve are synchronized. One way to check this is to look through the window on the side of the carb if you have one, and the slides should be visible in both windows at exactly the same time.
Another way to see if the carbs are synced is the remove the airbox and look at the slides in the air intake on the carb. Pull the throttle to see if the slides come up at the same time. The last way to check and adjust the synchronization is with a synchronization tool. The synchronization tool works by screwing the carburetor throttle valve in a certain amount. Then, you can turn the idle screw until it’s in the same position as the carburetor throttle valve.
Adjust The Idle Speed
The idle speed is the speed of the engine when it is idling. You can adjust the idle speed with the idle adjustment screw located on the carburetor. Turn the screw clockwise to lower the idle speed or counterclockwise to raise the idle speed. When you first start adjusting the carburetor, you may want to experiment with different idle speeds.
The best idle speed for your ATV will depend on the terrain you’re riding on. For example, if you’re riding through a heavily wooded area, you may want to increase the idle speed. This is because you’ll be fighting more drag on the engine when passing through the brush.
Adjust The Air-Fuel Mixing Valve (AFM)
The air-fuel mixing screw on the carburetor controls the air-fuel mixture entering the engine. When adjusting the air-fuel mixing valve, you want to make sure it’s correct. Otherwise, your ATV will be running poorly. A common problem is when the ATV is running poorly, and there is a lack of power.
There are two ways to adjust the air-fuel mixing valve. One way is to use a screwdriver. Use the screwdriver to turn the screw until it’s all the way in, and then count your turns on the way out. Refer to the manual to tell you how many turns for your specific model. You can also check to see if your ATV is running too rich or too lean by pulling out a spark plug. If the spark plug appears black and covered in soot, it is definitely too rich. But, if the plugs are white or pitted, you may be running too lean.
Conclusion
Cleaning out your ATV’s carburetor is the first step to adjusting the carburetor. Once you’ve cleaned out the carburetor, you can adjust the throttle, idle speed, and fuel mixture. The throttle and idle speed control how much fuel are going into the engine. The throttle positioner controls how much air is going into the engine. These are all important aspects of adjusting the carburetor.