AWD is a very crucial feature for stability and off-road condition if you own a Polaris ATV or UTV. However, this can also produce some issues such as light malfunction.
So what should you do if your Polaris AWD light not working?
Bypassing the speedometer should turn the light back on. Otherwise, you might need to replace the speedometer. Fixing the wiring, replacing the magnetic coil, or adjusting the linkage rod can also solve the issue. Sometimes just resetting the light does the trick.
The procedures have just been mentioned. I’ve included everything you need to know before fixing this issue in this article.
Things You Should Do If Your Polaris AWD Light Not Working!
There are various methods available for resolving the issue. Let’s examine them individually.
Method 1: Bypass the Speedometer
The speedometer on a Polaris vehicle is connected to the AWD system. If the speedometer is malfunctioning, it can cause the AWD light to stop working.
The AWD system in Polaris vehicles is designed to engage when the rear wheels slip. The speedometer is responsible for engaging the front wheels when the rear wheels start to slip. If the speedometer is not working correctly, the AWD system will not engage, and the AWD light will not come on.
Tools Needed:
- Screwdriver
- Wire cutter/ Stripper
- Electrical tape
Process:
Step 1: Take the speedometer cluster off of the all-terrain vehicle. First remove the screws that are holding the speedometer in place.
Step 2: Find the brown/white wire and the gray wire that go to the AWD indicator light and connect to it. You’ll find the brown and white wire on the reverse side of the speedometer cluster.
Step 3: Split the brown-and-white wire in half and take the insulation off both ends. You can do this task by utilizing wire cutters and wire strippers.
Step 4: Make the connection between the two ends of the brown and white wire. To accomplish this, you can either use a wire nut or some electrical tape.
Step 5: Join the gray wire to the grounding terminal. In order to connect the wire to the frame of the ATV, you will first need to remove a bolt using a screwdriver.
Step 6: Replace the speedometer cluster in its original location. Just follow the instruction of the removal process but backwards.
If the steps are too complicated then follow this video step by step.
Method 2: Change the Speedometer
If bypassing the speedometer did not work, you may need to replace the speedometer. Replacing the speedometer is not something you should try alone. We highly recommend going to a professional.
Method 3:Linkage Rod Adjustment
The linkage rod and how it is adjusted directly play a role in how the AWD will function or if it will turn the light on at all.
Even the best ATVs of recent years need their linkage rods adjusted from time to time.
Tools Needed:
Process:
Step 1: Check to see that the neutral gear is engaged on the ATV’s transmission. This will ensure that the ATV will not move during the process ahead.
Step 2: Additionally, make sure that the gear shifer is in neutral. If it is rocking back and forth heavily, it is not totally neutral. The object should move back and forth only very minimally.
At this point, you should be able to see that the shift rods have been detached from one end or the other.
Step 3: The rods must then be adjusted. So the Heim joint may be placed into either the shifter rods or the bell crank. Now, screw all of the nuts into their proper positions.
Just rotate the 10 mm nuts located on the rod in order to correct the alignment of the rod linkage. That is in the event that it shifts down.
Rotating it will cause the rod to extend out in both directions. Alternatively, tightening it will cause both sides to be drawn in. This will allow you to fine-tune the shifter to work with your linkage.
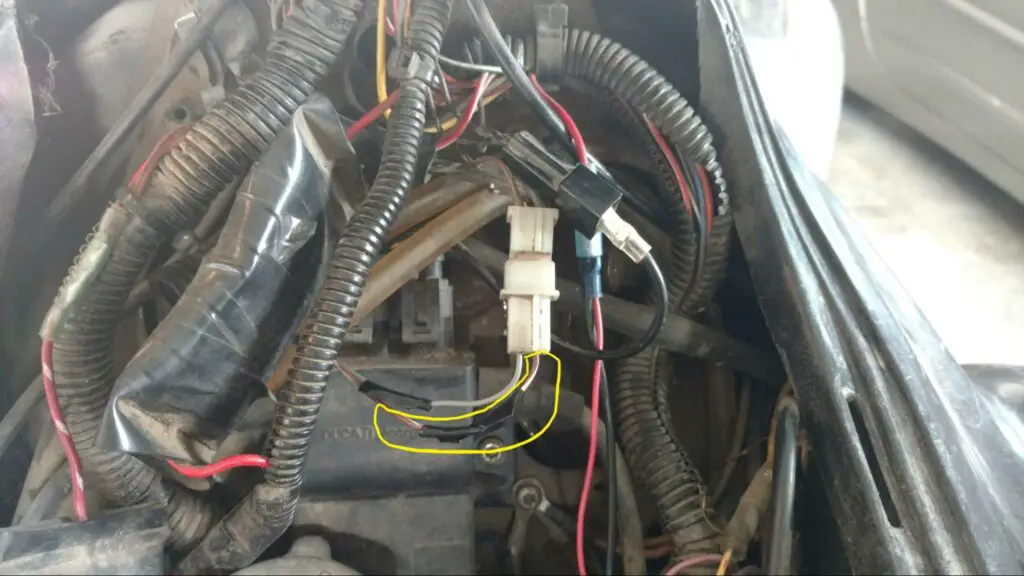
Method 4: Fix The Faulty Wiring
Sometimes the wiring may be damaged and cause the light to not light up. Faulty wiring is also a cause of lighting problems in Polaris Rangers.
Process:
Step 1: At the very beginning of the process disassemble the switch box. Then locate the wire that is hot when the light is turned on.
Now you need to head to the back of the ATV, which is where the wiring harness is located. Here that you’ll find the grand white wire. This is the wire that will become warm when the light is turned on.
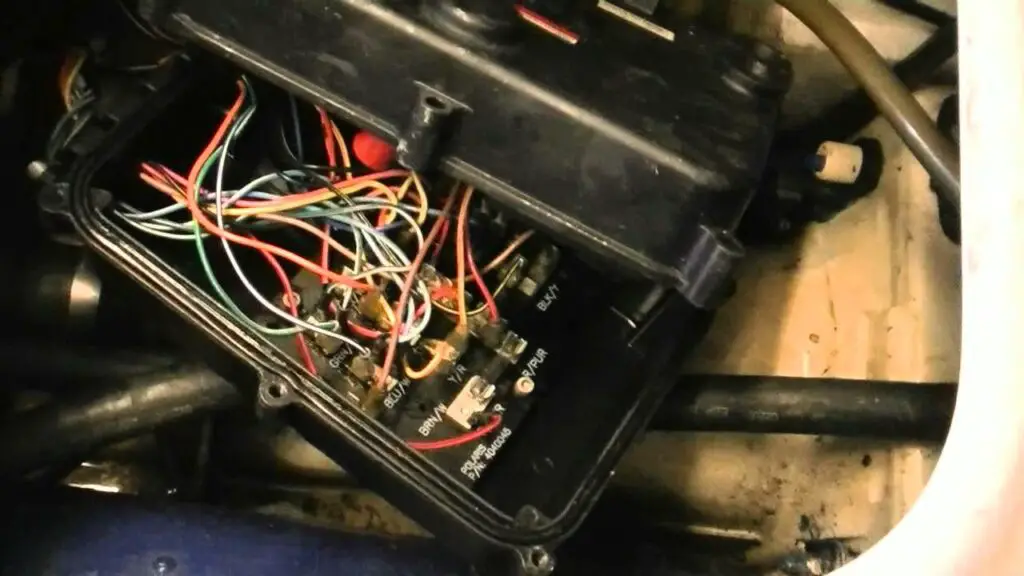
Step 2: Now you have to bypass the switch harness. Inspect the location where the wires emerge from the harness.
Now remove the grey and white wire from the outlet. Take special care not to misplace these wires. As soon as possible, connect the wires that are grey and white to the wires that are red and white.
After this is done, the button that presses the switch receives power whenever it is pressed.
Method 4: Reset The Light
Sometimes resetting the light might just do the trick. This rarely works but you never exactly know what is the exact problem so try this once you’ve done all the aforementioned fixes but have no result.
Process:
Step 1: First switch off the key by turning it and removing it from the ignition. Activate the parking brake so the ATV does not roll.
Step 2: Press the button labeled “Mode Override”.
Step 3: Choose the “Service Interval” from the menu on the main control panel.
Step 4: Turn the key to the “Off” position and remove it from the ignition.
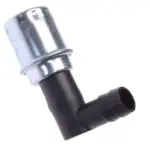
Method 5: Replace The Magnetic Coil
The AWD system in Polaris vehicles is designed to engage when the rear wheels start to slip. The magnetic coil is responsible for engaging the front wheels when the rear wheels start to slip. If the magnetic coil is not working correctly, the AWD system will not engage, and the AWD light will not come on
The magnetic coil is an essential part of the AWD system in Polaris vehicles. If the magnetic coil is not working correctly, it can cause the AWD light to stop working.
Too many miles on a Polaris can slowly damage the magnetic coil, so keep it in check.
Tools Needed:
- Drift punch set
- Bead of silicone
- Tie straps
Process:
Step 1: First take off the front drive axle. Using a drift punch and a hammer, remove the seal sleeve from the strut casting. Do this by pounding equally on each side until the sleeve falls off.
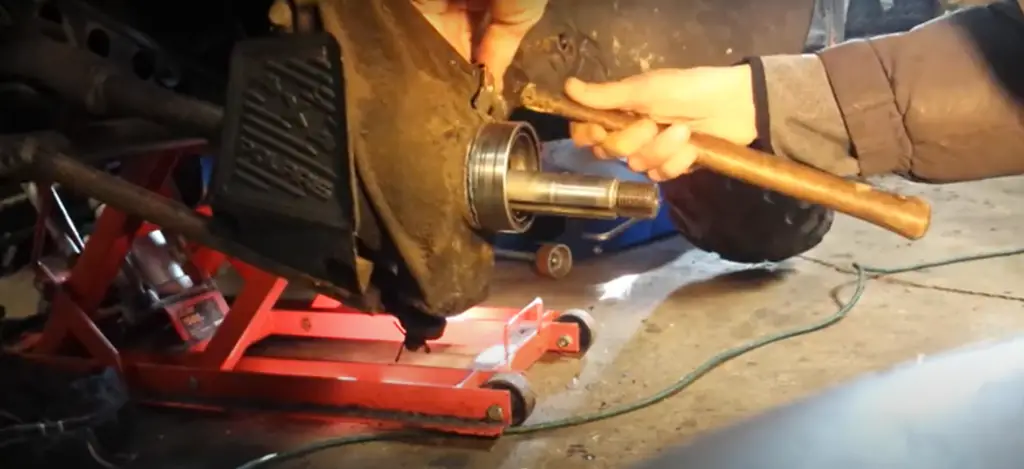
Step 2: Remove the existing coil and remove any silicone or foreign matter. Remove them from the coil wire channel, the coil mount region, and the seal sleeve mounting area.
Step 3: Next, replace the existing coil. At the connection or the terminal board, disengage the wires that are connected to the coil.
Step 4: In the groove for the coil wire, apply a bead of silicone measuring 1/4 inch.
Put the coil onto the surface of the coil mount, and then push the coil wires into the silicone that is located in the channel for the coil wires.
Step 5: Place a bead of Loctite Ultra Blue silicone measuring 1/4 inch (0.6 cm). Place it around the region where the seal sleeve will be mounted.
Doing this step requires reapplying silicone over the lead wires of the coil. Always allow the silicone to cure for a period of twelve hours.
Step 5: Make the seal sleeve level with the inner pole by applying pressure on it. Now the seal sleeve has been placed in the correct location. And a bead of silicone measuring 1/16 inch (0.16 cm) should be left around the inner edge.
Remove any and all leftover silicone residue. In order to prevent the hub seal from leaking, the region around the seal sleeve must be devoid of silicone.
Step 7: After applying 401 Loctitet to the inside of the strut ribs, place the foam block on top and push it down to enclose the coil wires. To ensure that the coil wires are adequately protected, check the bonding of the foam block.
Wires for the coil need to be tucked away within the brake line clip on the upper strut casting’s reverse side. And the wires themselves need to be pressed up against the casting.
The wires should be routed in a smooth manner that keeps them away from any moving components. And they should be secured in place using tie straps.
Step 8: Put together the front axle and connect the wires to the hub.
Frequently Asked Questions (FAQs):
How does the Polaris AWD system work?
The AWD system of Polaris works like any other vehicle. Every time the back wheels start to spin-off, the front gearbox will kick in to take over. The front gearcase will disengage when the rear wheels begin to obtain traction again. Time spent with the car in all-wheel-drive is unlimited.
What is the disadvantage of AWD?
AWD gives a false sense of security in winter. On snow, slush, and slippery roads, AWD decreases wheelspin while accelerating, but it doesn’t affect stopping or turning. Two-wheel-drive sedans stop and turn better than AWD sedans.
Is Polaris AWD the same as 4×4?
Polaris The AWD/2WD system functions similarly to an all-wheel-drive system. Polaris has two-wheel drive and four-wheel drive modes, respectively labeled “2×4” and “4×4”, with the latter transferring all available power to the back wheels until the rear tires start to slide.
Conclusion
And with that, we know the solutions for Polaris AWD light not working.
There are many approaches you can take. Most of them you can do by yourself. But some of them will need you to go the mechanic.
Good luck!